Understanding the P2P Cycle in Oracle: A Complete Functional Overview
Mainly three applications are involved in Financial Module i.e. P2P cycle. Those 3 applications are
Purchasing (PO)
Account Payables (AP)
General Ledger (GL)
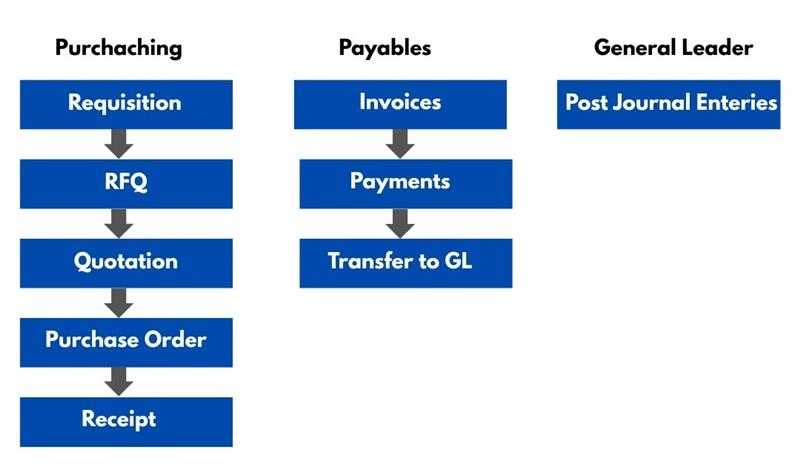
P2P cycle flow diagram:
During the Purchasing application flow, three types of roles are involved. Those are
Requestor : Employee who require or request for the materials.
Preparer : Employee who is going to prepare the Document.
Buyer : Employee who is having the authority to purchase Materials
Requisition: It is one of the purchasing documents will be prepared by the employee who required the materials or Services or Training and so on. We have two types of Requisitions. Those are
Internal Requisition
Purchase Requisition
Internal requisition will be created when we receive materials from another Inventory of the same organization. Purchase requisition will be created when we purchase materials from the Suppliers (vendors). Requestor creates this requisition.
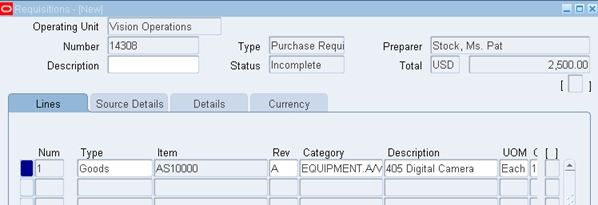
We enter the Requisition data in 3 levels. Those are Headers, Lines and Distributions.
Enter Requisition type at headers level and Item, UOM, Quantity, Price and Need-By-Date columns at lines level like below.
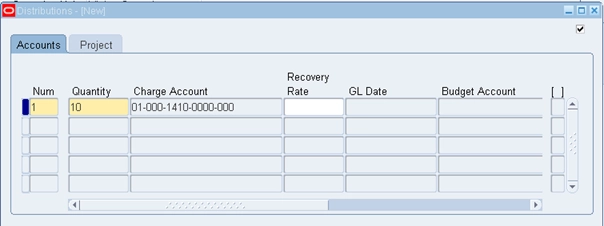
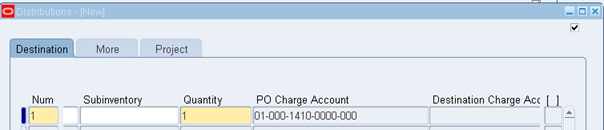
Click on Distributions and click on Charge Account column, Accounts information will propagate automatically. Save your data by clicking save button in menu.
Copy Requisition number for further steps and observe the status as “Incomplete”.
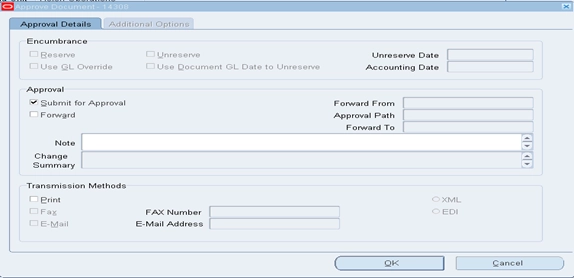
Now click on Approve button.
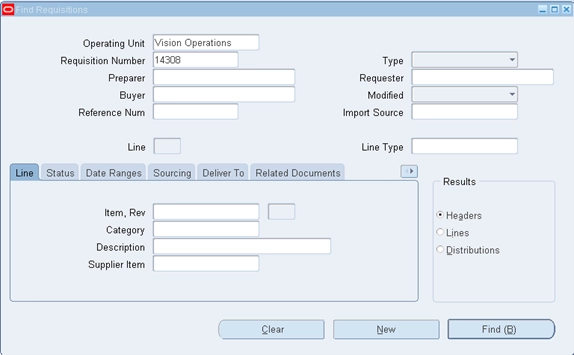
Once the Requisition is approved, you will not able to open the same requisition again but we can check the requisition status and details from Requisition summary form.
By clicking Find button, you can check the status and line level details of that particular requisition.
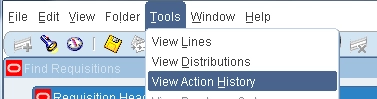
To see the history of that particular requisition, Tools —> View Action History
You can cancel the requisition.
Tools —> Control
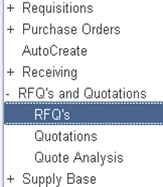
RFQ (Request for Quotation):
Once the Requisition is approved, Preparer will prepare the RFQ document and will send to different suppliers. Suppliers may or may not respond for this RFQ and they will send their Quotations.
There are 3 types of RFQ documents.
Bid RFQ: Fixed quantity and no Price Breaks (Discounts). g.: Servers, Building acquisition.
Catalog RFQ: Regularly used, large number of quantity and Price Breaks are E.g.: Milk products, water etc. . . .
Standard RFQ: Not very often and Discounts information at different quantity E.g.: Laptops, Electronic devices etc. . . .
Terms and Conditions: While creating the RFQ document, we need to choose Terms and Conditions. We can enter this data by clicking Terms button.
Payment Terms: When Organization is making the payment and Interest rates. Fright Terms: Who is bearing the Transportation charges whether Buyer or Supplier.
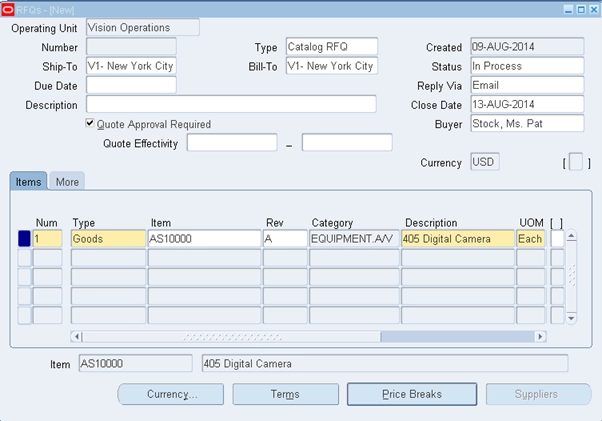
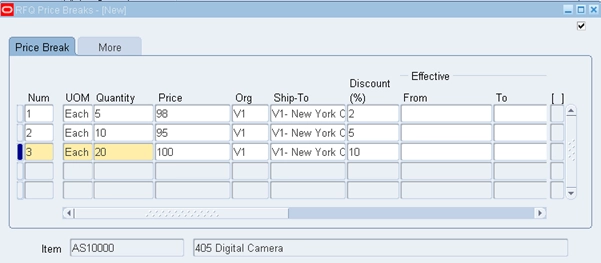
Enter the RFQ details as below. You can enter price breaks (discounts) for Catalog RFQ and Terms.
Enter discounting information by clicking Price Breaks button.
Attach the suppliers to send this RFQ document them by clicking Suppliers button and save your data and copy RFQ number for further use.
Quotation:
It is also a purchasing document; prepared by the Suppliers which contain the quote details, Price, payment terms and so on. We will enter all the Quotations details in the system through a form.
There are three types of Quotations available.
For Bid RFQ: Bid Quotation
For Catalog RFQ: Catalog Quotation
For Standard RFQ: Standard quotation
The management will do quote analysis and choose the best quotation from all suppliers.
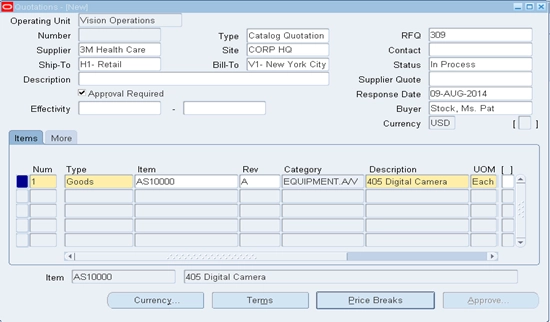
Enter all the details of Quotation for that particular RFQ by entering RFQ number at headers level.
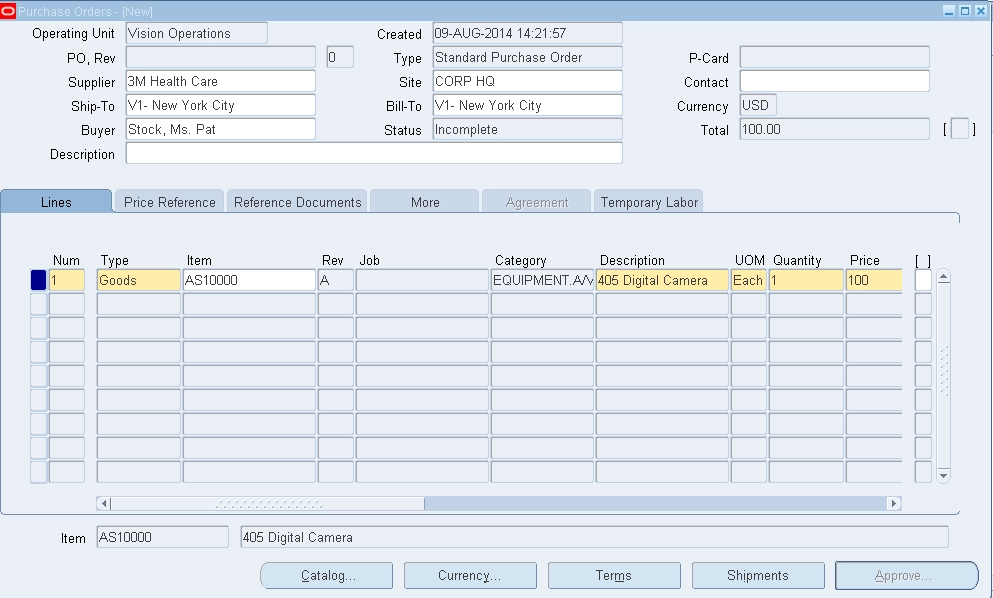
PO is one of the main documents, prepared and approved by the buyer according to the quotation and sends it to the supplier which contains the information of terms and Conditions, Items details, Quantity, Price, Distribution, Shipment Details and so on. .
Enter the Information at headers and lines level as below.
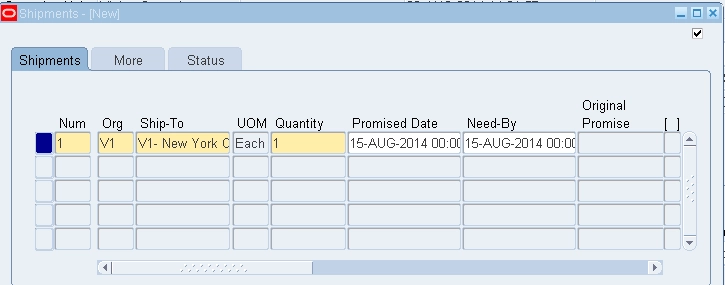
Click on Shipments button to enter Shipments level details.
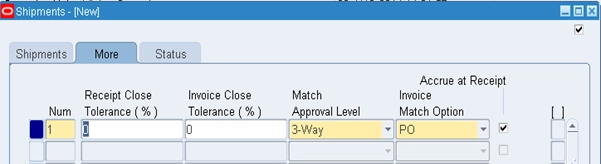
Click on More tab of this form, you can find match approval level.
There are three Match Approval Levels.
Two–Way: Purchase order and invoice quantities must match within tolerance before the corresponding invoice can be paid.
Three–Way: Purchase order, receipt, and invoice quantities must match within tolerance before the corresponding invoice can be paid.
Four–Way: Purchase order, receipt, inspection and invoice quantities must match within tolerance before the corresponding invoice can be paid.
Choose one match approval level and click on Distributions button to get account details as below.
Save all your data, copy PO number for further reference, check the status column as “Incomplete” and approve the Purchase order by clicking Approve button then Click on OK.
Now check the status as “Approved”.
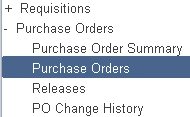
You can check PO status and details in Purchase Order summary form. You can see the history of Purchase Order.
Tools Menu —> Action History
You can create the Purchase Order document as same as previous with different PO number.
Tools Menu —> Copy Document
You can cancel the Purchase Order. Tools Menu —> Control
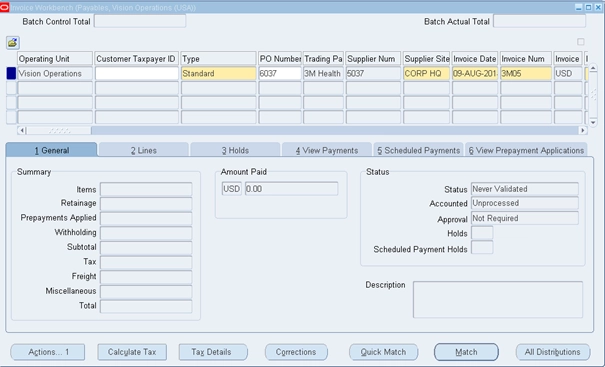
Enter Purchase Order (PO) number, Invoice date, Invoice number, amount and tax control amount and click on Match button to match invoice with that particular Purchase order.
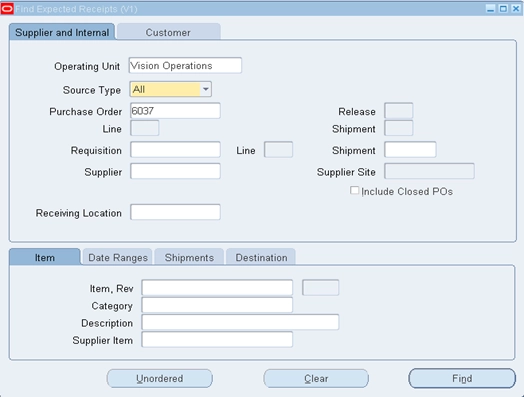
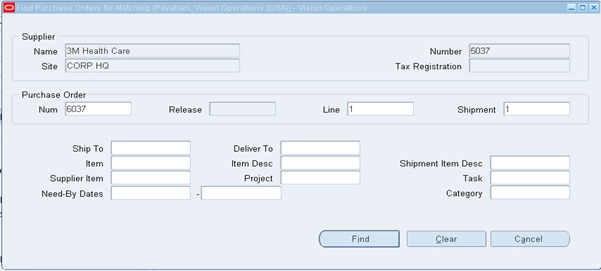
Enter purchase order number, line and shipment and click on Find button.
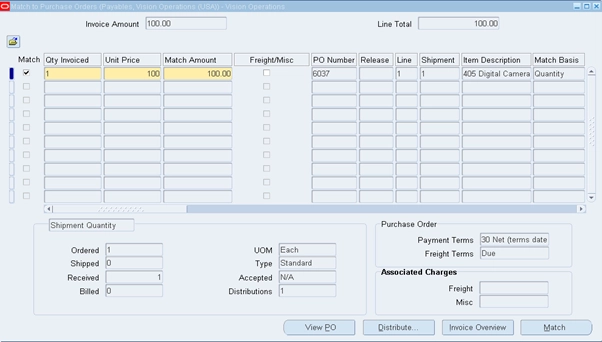
Tick match check box at lines level and click on Match button and copy invoice number.
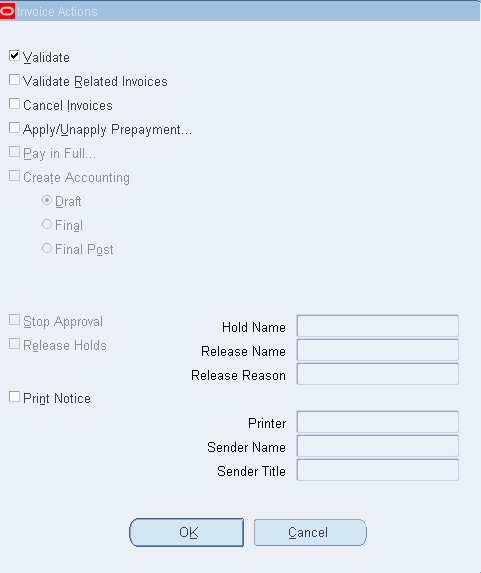
Check the Status, Accounted and Approval columns in Status block.
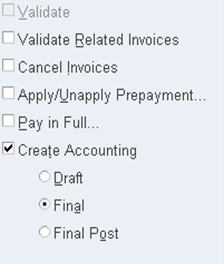
Tick validate check box and click OK button, check Status column as “Validated”. Now click on Actions button again and tick Create accounting check box with final or final post.
Click OK and check view payments, there is no data.
Payments:
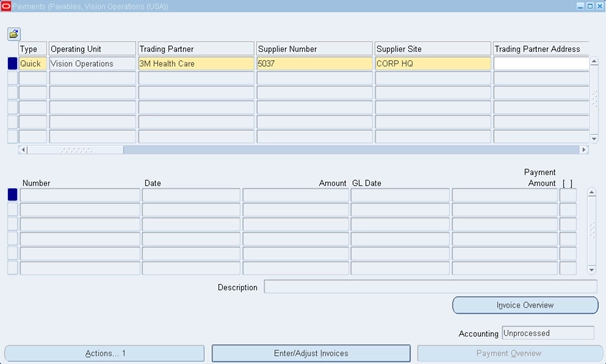
Once the Invoice is created, approved and accounted. Then we can make the Payments to the supplier. There are three types of Payments.
Manual: If Organization is going to pay the amount by cheque or cash then it will be captured under the manual payment type.
Quick: System will automatically generate the payment transaction as per the Invoice number. System will automatically generate the Cheque number also.
Refund: If any refundable amount is there, we have to pay to the supplier or customer or employee then those payments will be select as Refund method.
Enter trading partner, payment date, bank account, payment process profile, method and document at headers level. Click on Enter/Adjust Invoices button to add this payment for particular Invoice of this supplier or trading partner.
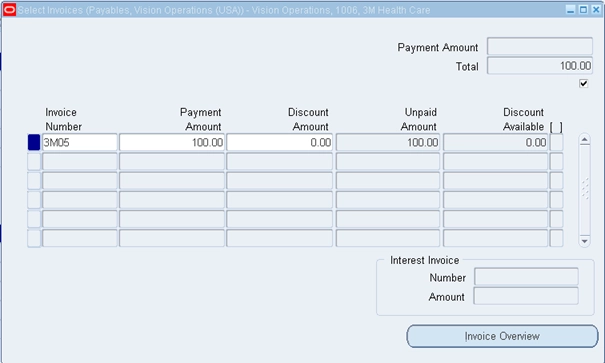
You can create multiple payments for single invoice with different amounts.
Enter invoice number and save close this window.
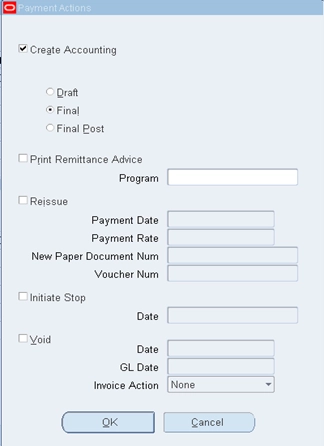
Click on Actions button and tick Create Accounting check box with final.
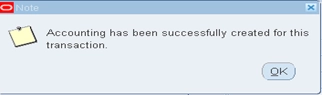
Click on OK. The following message will come.
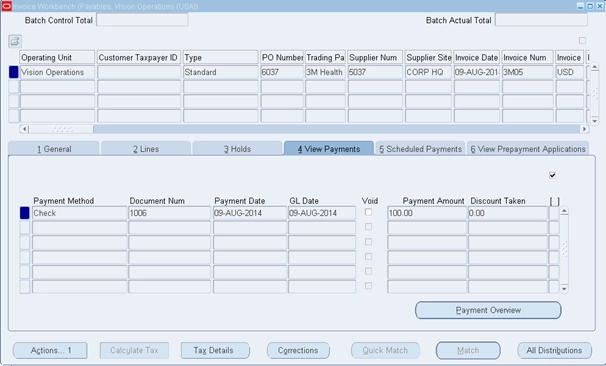
You can check these payments in View payments tab in Invoice form.
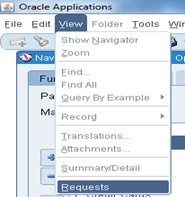
Transfer to General Ledger:
View Menu —> Requests
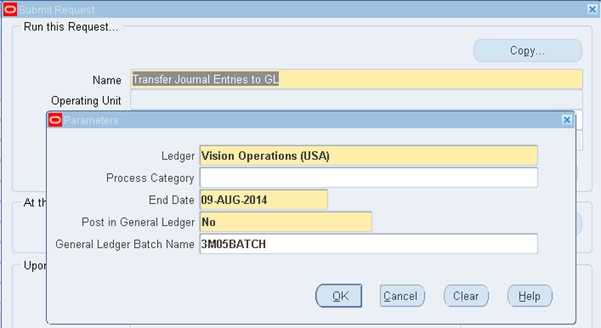
Run “Transfer Journal Entries to General Ledger” program. Enter the parameters as below.
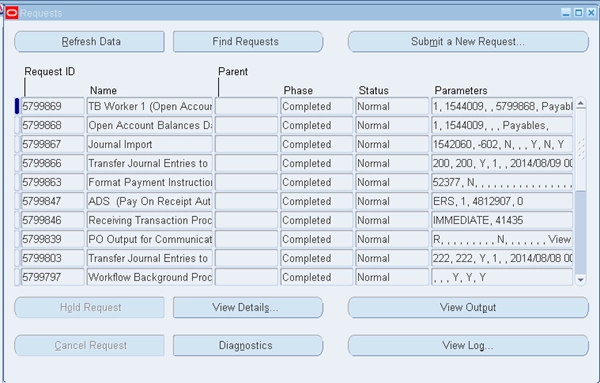
Submit the program by clicking OK and then Submit Button and copy the batch name. Find the request status by clicking Find button. After successful completion of this concurrent program, another program will run automatically named as “Journal import”, after this “Open Account balances Data Manager” and “TB worker” programs will run automatically.
By successful completion of these concurrent programs, journal entries will be transferred to General Ledger module. You can check these with Batch name.
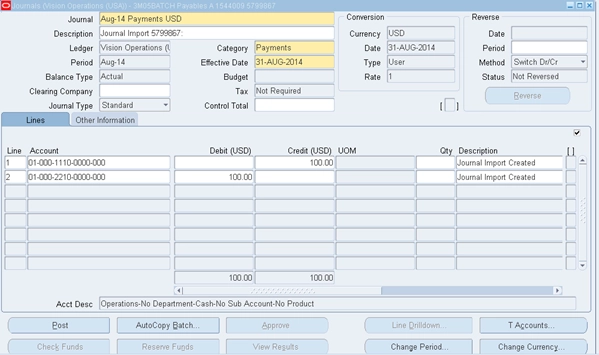
General Ledger:
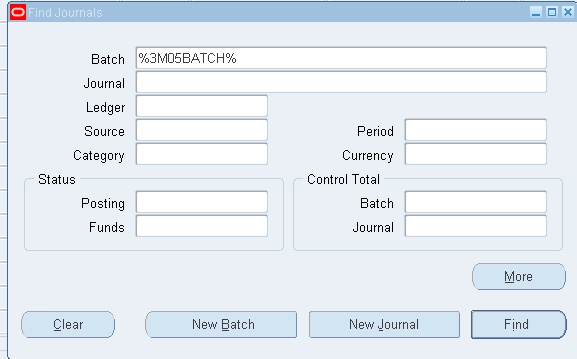
Navigation: General Ledger, Vision Operations (USA) —> Journals —> Enter
Enter batch details and click on Find button.
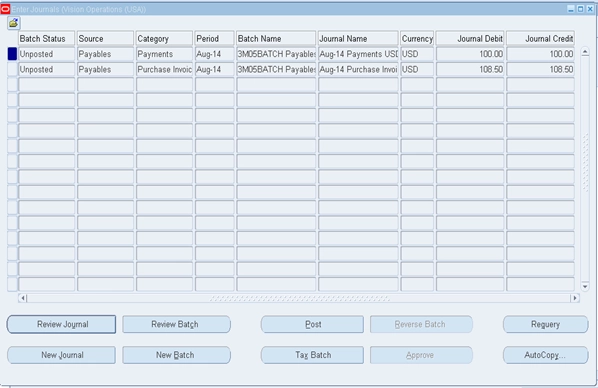
You can review your journal by clicking Review journal button.
Post your Journal Entries by clicking Post button. The following Message will display.